A Music Visualizer Workflow for YouTube Type Beats
How beatmakers can give every upload its own visualizer: analyze the beat, pick a look, record a clean 60 fps take, and pull a thumbnail from the same session.
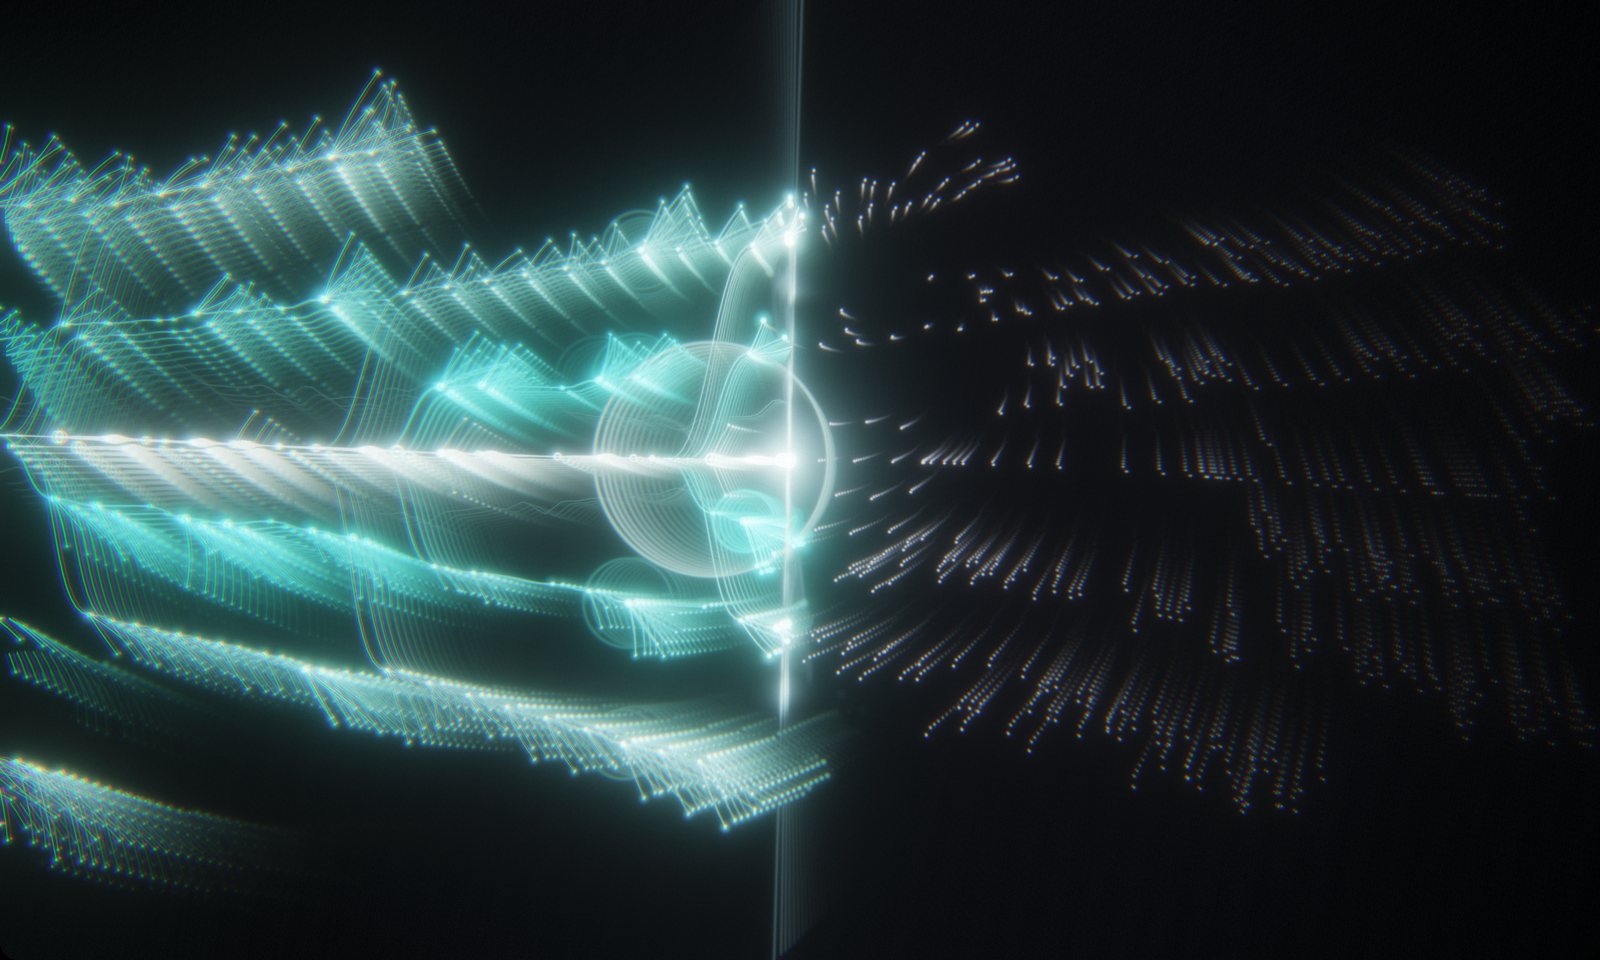
If you upload beats regularly, the visual is the first thing a listener judges before they hear a note. A static cover image works, but a visual that actually moves with the drums keeps people watching — and it can make your channel recognizable at a glance.
Here’s a repeatable workflow for producing one per beat with Visualinst.
Why it suits beat uploads
- Every beat looks different automatically. The picture is built from the beat’s own rhythm and arrangement, so a 145 BPM drill beat and a 90 BPM soul sample produce visibly different results without you changing a setting.
- The structure is readable. Viewers can see the hook arrive — the trunk forks into a new lane and color, and returns there every time the hook repeats.
- It’s fast. Analysis takes seconds, so the visual never becomes the bottleneck in your upload schedule.
- Your unreleased beats stay private. The audio is analyzed on your machine and never uploaded. More on that here.
1. Load the beat
Open the web app and drop in the bounce you’re uploading. Use the same file you’ll put on YouTube so everything lines up.
2. Pick a look
On the free plan you get the classic visualizer, which already reads well on a dark YouTube player. With Pro you can go further:
- Press R (RANDOM) until a look clicks, then fine-tune it in the FX panel (E).
- Turn on FLUID (M) for camera moves that cut on the downbeat.
- Branding tip: pick one palette and keep hue drift at zero for every upload. The motion changes with each beat, but your channel keeps one color identity.
Settings are saved, so your look is still there next time.
3. Set up the recording
- OBS Studio (free, Windows/macOS/Linux): add a Window Capture of the browser, set the canvas and output to 1920×1080, and record at 60 fps.
- Quick option: Xbox Game Bar (Win + G) on Windows, or the Screenshot toolbar (⇧⌘5) on macOS.
- Press F for full screen and H to hide the interface so only the visual is captured.
4. Record one clean take
Press Home to return to the start, start recording, then press Space. Let it run to the end — the closing zoom-out to the full song map makes a natural outro.
5. Finish in your editor
- Use the original audio. For the best sound, mute the recorded audio and lay your master WAV under the video, lined up with the first beat.
- Add your title card, tags and links as usual.
- Thumbnail: with Pro, press S on a striking moment — or on the final spiral — to save a PNG at your display’s resolution.
Common questions
Can Visualinst export the video file itself? Visualinst renders live in real time, so you capture it with a screen recorder. That keeps the motion smooth at your monitor’s refresh rate and works with the tools you already use.
Does it work on Windows? Yes — the web app runs in Chrome, Edge and Firefox on Windows, as well as on macOS, Linux and ChromeOS.
Keep reading
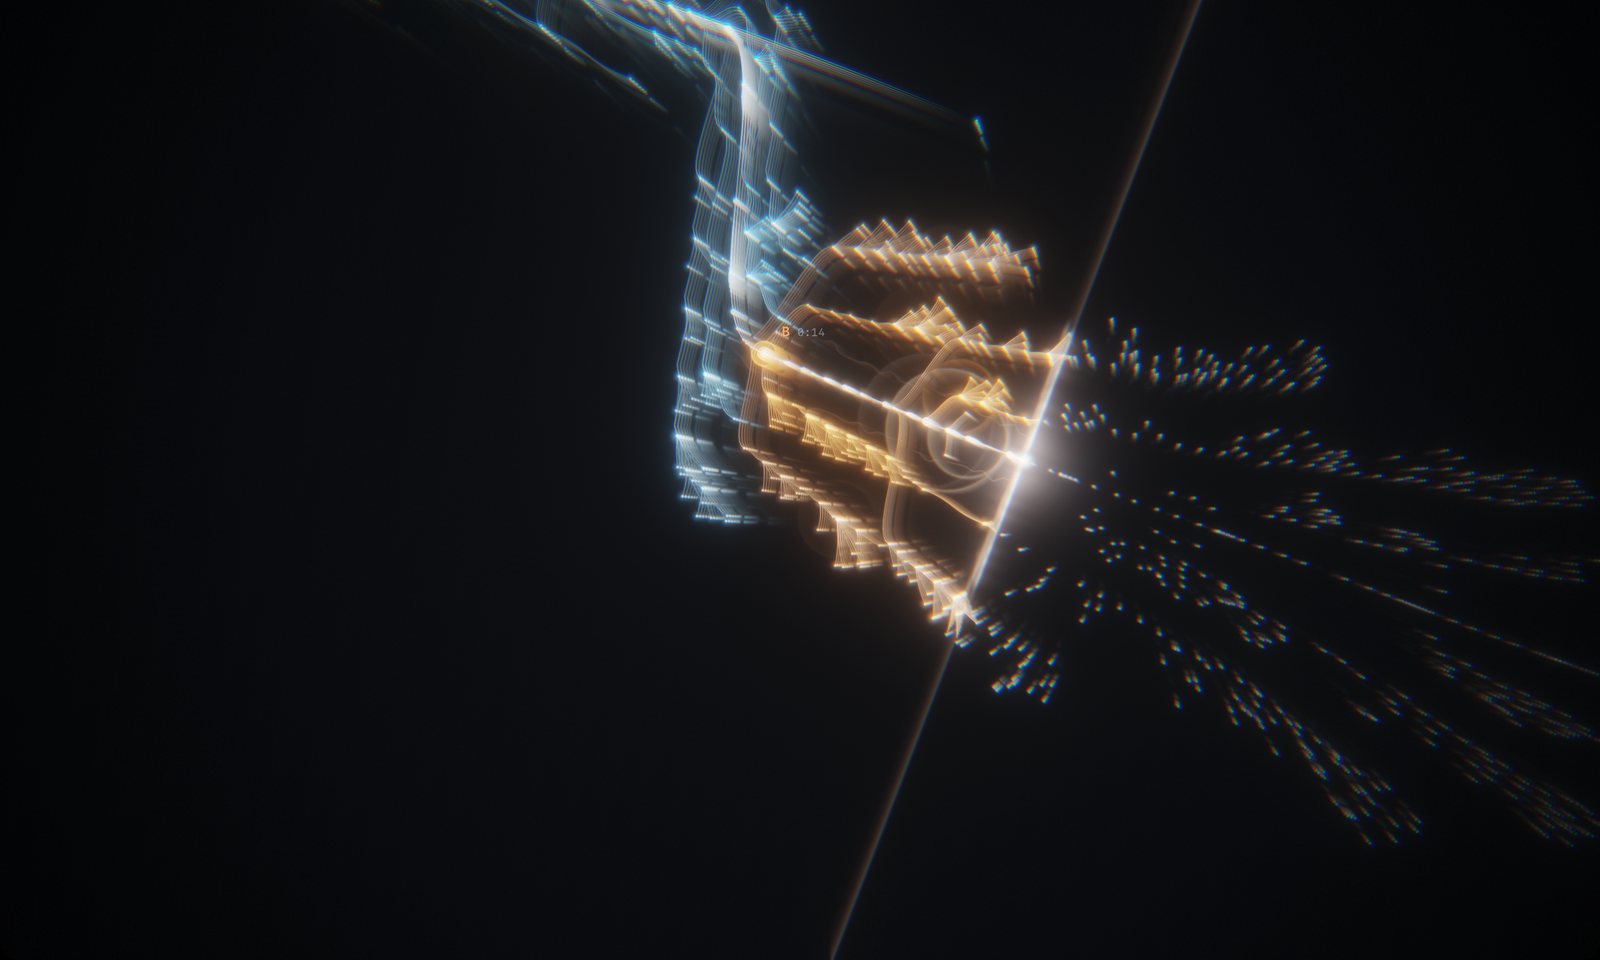
Audio-Reactive vs. Structure-Aware: Why Visualinst Reads the Whole Track First
Most visualizers react to the last few milliseconds of sound. Visualinst analyzes the entire song first, so the picture can follow beats, sections and what’s coming next.

How Visualinst Detects Beats, Transients and Song Sections
A plain-English look at the analysis behind Visualinst: five-band onset detection, tempo estimation, beat tracking and section boundaries — all running on your device.
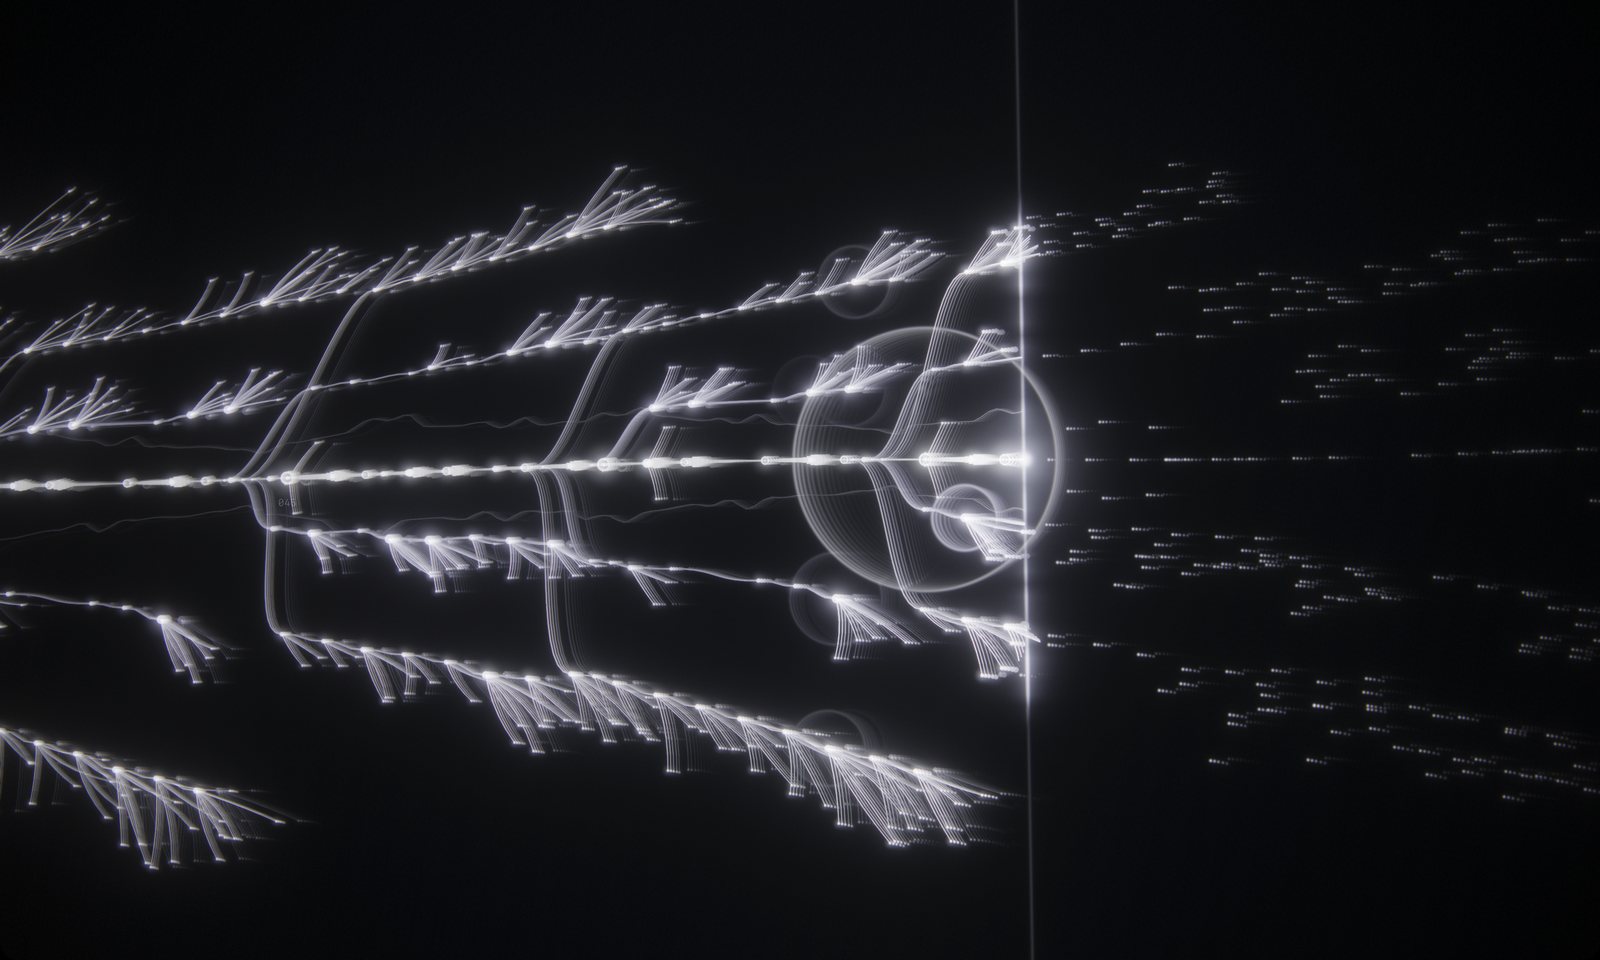
Visualize Unreleased Music Without Uploading It
Visualinst decodes and analyzes your audio on your own device. Here’s why that matters for unreleased beats, client work and label previews — and how to verify it yourself.