How to Make a Music Visualizer for Your Beat in Under a Minute
Turn an MP3 or WAV into a visualizer that follows your kick, snare and hi-hats — no video editor, no templates, no keyframes. A step-by-step guide.
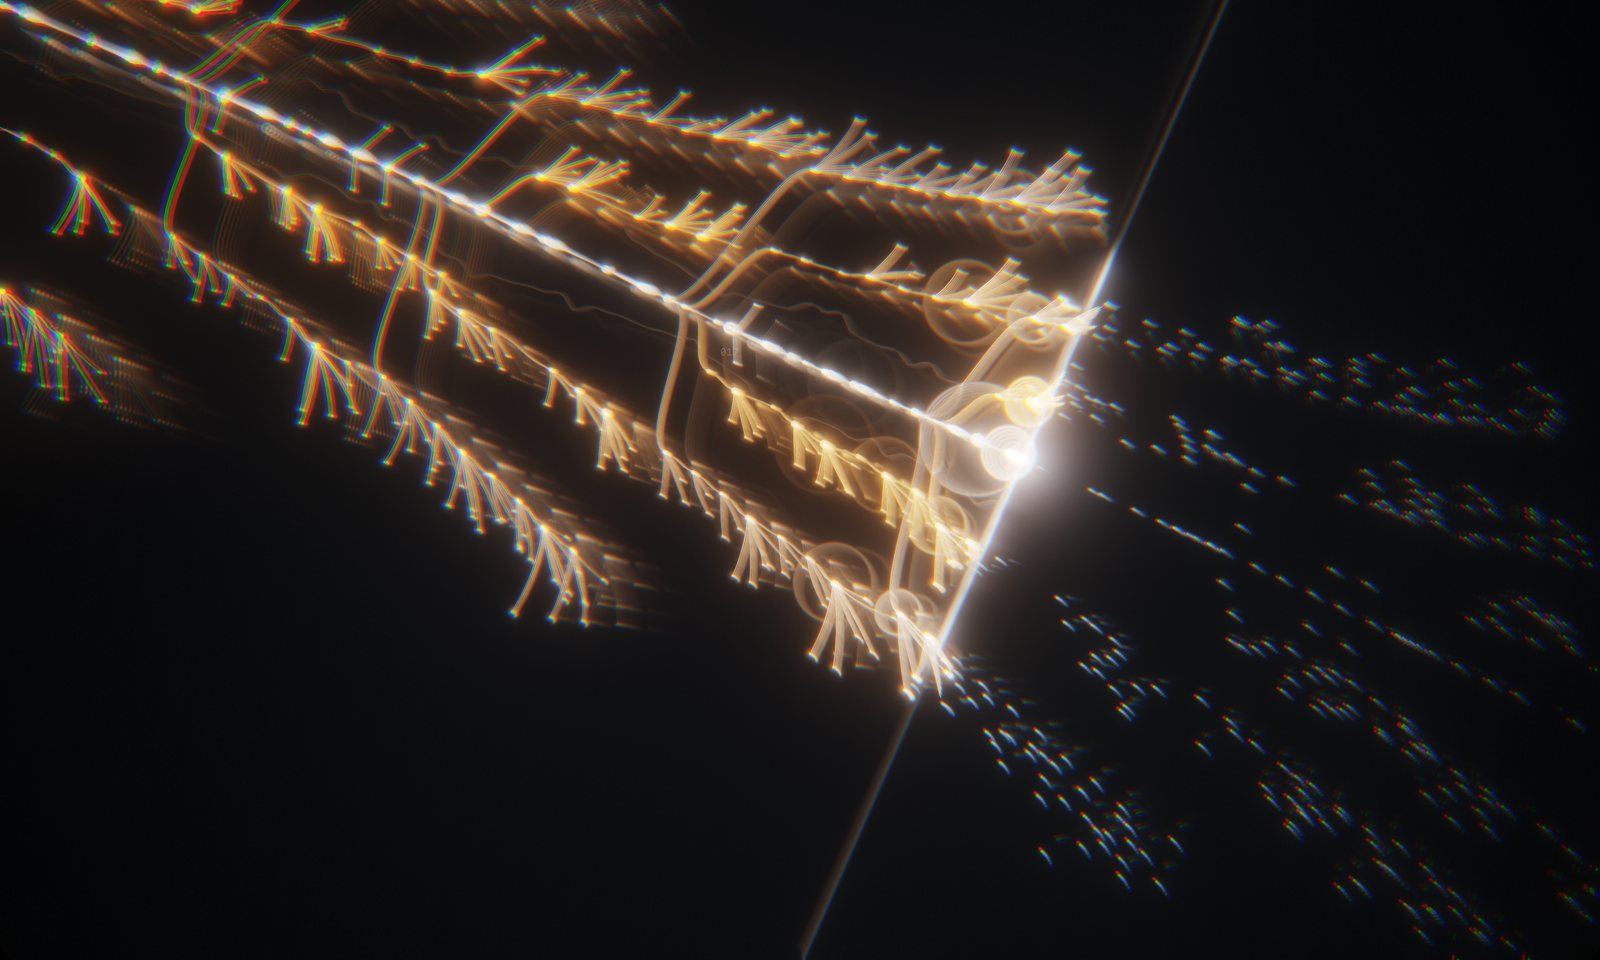
Most ways of making a music visualizer start with a template: pick a spectrum bar, drop in a logo, export. The result moves, but it doesn’t really follow the song — the drop looks like the intro, and every track on your channel looks the same.
Visualinst takes the opposite approach. You give it a finished track and it works out the rhythm and the arrangement on its own, then draws something that grows in time with the music. Here’s the whole process, start to finish.
What you need
- A track: MP3, WAV, M4A/AAC or FLAC work in every current browser, and OGG in Chrome, Edge and Firefox.
- A computer with a current version of Chrome, Edge, Firefox or Safari — Windows, macOS, Linux or ChromeOS.
- A free Visualinst account. Sign-in is a one-time link sent to your email; there’s no password.
Step 1 — Open the web app and sign in
Go to visualinst.com/app. Nothing installs. Enter your email, open the link we send you (on any device), and the tab signs in by itself. Your browser stays signed in for 180 days.
Step 2 — Drop in your track
Drag the file onto the window, or click Open a track. Visualinst decodes and analyzes it right in your browser — the audio is never uploaded. For a typical song this takes a few seconds — two to three on an M2 Pro MacBook.
In that time it finds:
- Tempo and beats, including which beat starts each bar.
- Transients in five frequency bands, from sub-bass up to the airy top end.
- Sections — where the intro ends, where the hook comes in, and which parts repeat.
Before you press play, you’ll see the whole song as a faint spiral: a preview of every hit Visualinst found.
Step 3 — Press Space
The spiral unrolls into a timeline and a scan line starts moving with playback. Every element is tied to something in your track:
- The bright trunk runs along the beat. It thickens with the sub, and kicks send out rings.
- Branches carry hits from each frequency band. Higher sounds branch further from the trunk.
- Harder hits burst into twigs.
- When the song moves into a new section, the trunk forks into a new lane and color. When the hook returns, it returns to the same lane and color it had before.
- Faint points to the right of the scan line are upcoming notes — possible only because the whole track was analyzed first.
Step 4 — Frame it
- F goes full screen.
- H hides the interface for a clean picture.
- O zooms out to the spiral map of the entire song; press it again to dive back in.
- ← / → jump five seconds; Home goes back to the start.
- Pinch or scroll to zoom and pan; double-click to reset.
Step 5 — Make it yours (Pro)
The free plan gives you the full analysis and the classic visualizer. Visualinst Pro adds the tools for variety:
- Three more looks on keys 2–4 — FLUX, a real-time fluid simulation; VORTEX, 3D particle formations that reshape with each section; and FUSION, the fluid behind the tree.
- FLUID — an automatic camera director with 11 shot types, including five 3D perspectives, that cuts on the downbeat and makes bigger moves at section changes.
- RANDOM — a new palette and effect stack in one click.
- FX panel — 8 palettes, hue drift, saturation, bloom, trails, tunnel, twist, kaleidoscope, prism, vignette, grain and more.
- PNG export of any frame.
More on that in FLUID mode, explained.
Turning it into a video
Visualinst renders live, so the simplest way to get a video file is to record the window at 60 fps: OBS Studio on any platform, Xbox Game Bar (Win + G) on Windows, or ⇧⌘5 on a Mac. Our YouTube workflow guide covers resolution, audio and thumbnails.
Tips for the best result
- Use the final mix or master. Clear transients make crisp branches.
- Quiet passages stay calm on purpose. Sparse intros look sparse, so the drop has somewhere to go.
- Try the overview at the end. The finished spiral is a picture of your arrangement — great as a closing shot.
Keep reading
A Music Visualizer Workflow for YouTube Type Beats
How beatmakers can give every upload its own visualizer: analyze the beat, pick a look, record a clean 60 fps take, and pull a thumbnail from the same session.
Audio-Reactive vs. Structure-Aware: Why Visualinst Reads the Whole Track First
Most visualizers react to the last few milliseconds of sound. Visualinst analyzes the entire song first, so the picture can follow beats, sections and what’s coming next.

How Visualinst Detects Beats, Transients and Song Sections
A plain-English look at the analysis behind Visualinst: five-band onset detection, tempo estimation, beat tracking and section boundaries — all running on your device.